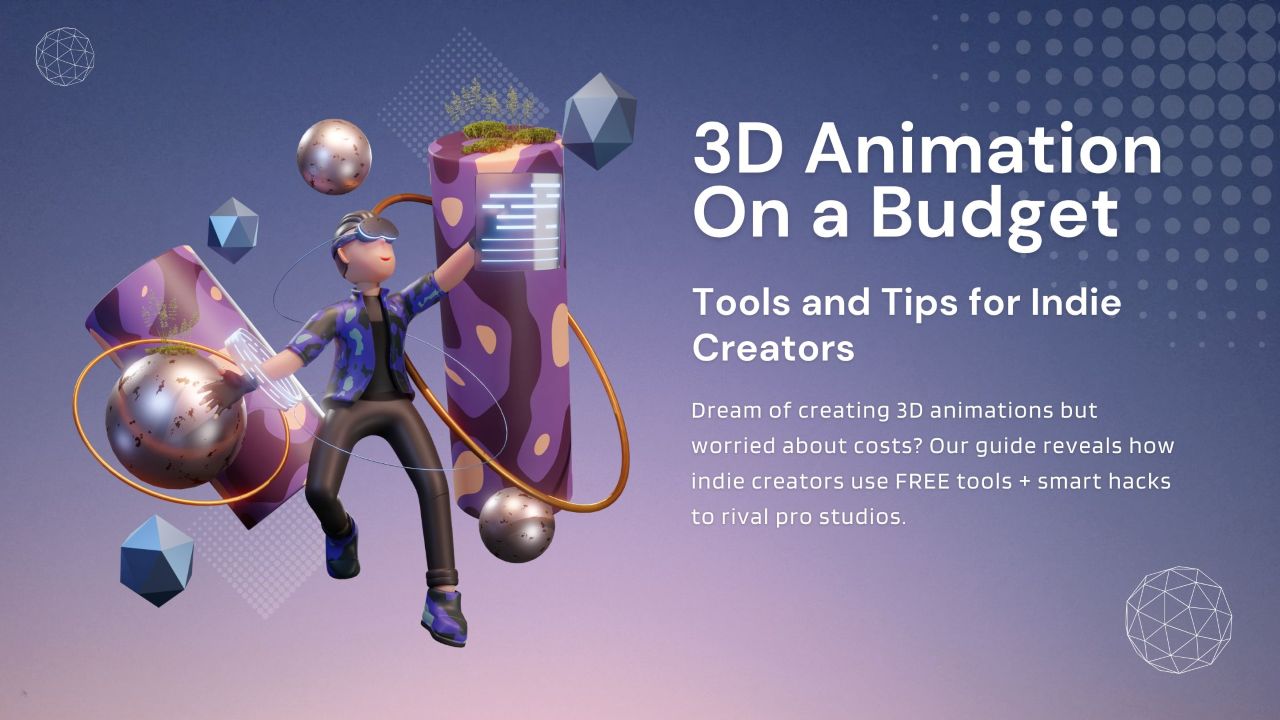
Ever stared at a $10,000 animation software price tag and just laughed? You’re not alone. Thousands of indie creators abandon their 3D dreams before they even start, convinced professional-quality animation requires Hollywood budgets.
Let me tell you something that might shock you: some of today’s most impressive indie animations were
Created with tools that cost less than your monthly coffee habit.
This guide will walk you through affordable 3D animation solutions that deliver professional results
without requiring a second mortgage.
The 3D animation landscape has democratized dramatically in recent years, with powerful free and low-cost tools now competing directly with industry standards.
But which budget options deliver, and which will waste your precious time? That’s where things get interesting…
Ever watched a Pixar film and thought, “I could never do that on my budget” ?
Well, you might be surprised. While you won’t match Pixar’s millions with pocket change, indie creators can dive into 3D animation without selling a kidney.
First things first—3D animation isn’t just about making things move. It’s about creating an entire digital world from scratch. Unlike 2D animation, where you draw each frame, 3D animation involves manipulating digital objects in a three-dimensional space.
The foundation of any 3D animation project includes these essential elements:
Modeling: This is like digital sculpting. You’re creating the characters, objects, and environments that will populate your 3D world. Think of it as building digital puppets that you’ll later bring to life.
Rigging: After creating your models, you need to give them a digital skeleton. Rigging adds control points to your models so you can manipulate them, like strings on a puppet.
Texturing: Your models will look like plastic mannequins until you add textures. This process wraps your models with colors, patterns, and surface details that make them look real.
Lighting: Just like in photography or filmmaking, lighting sets the mood and helps viewers understand the space. In 3D animation, you place virtual lights in your scene.
Animation: Here’s where the magic happens! You define keyframes (important poses) for your models, and the software calculates the movement between those poses.
Rendering: The computer processes all your work into final images. This can be time-consuming, especially on budget equipment, but there are workarounds we’ll discuss later.
Compositing: The final stage involves combining rendered elements, adding effects, and polishing your work.
One concept that trips up many beginners is the difference between real-time and pre-rendered animation. Games need real-time rendering (30-60 frames per second on the fly), while films and videos can use pre-rendered animation (taking minutes or hours per frame but with higher quality).
For budget-conscious creators in India, this distinction matters. Real-time requires optimized models and simpler effects, while pre-rendered allows more detail but demands patience and render management.
Another crucial concept is the pipeline—the workflow from concept to final product. Establishing a clear pipeline saves time and prevents costly mistakes. Even simple projects benefit from planning which elements need to be created first and how they’ll fit together.
When working with 3D Animation Services in Indore or elsewhere, understanding these fundamentals helps you communicate effectively with collaborators and make smart budget decisions about what to handle yourself versus what to outsource.
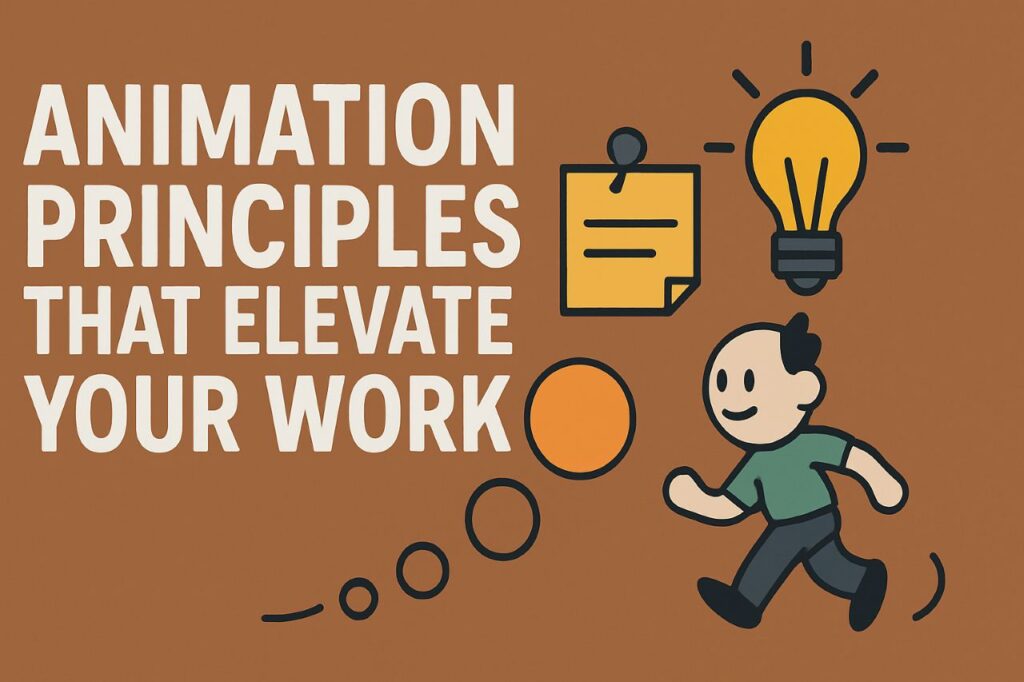
The secret sauce of compelling animation isn’t in the software—it’s in the principles. The good news? These principles apply whether you’re working with a million-dollar budget or barely scraping by.
Disney’s “12 Principles of Animation” remain the gold standard, even in the 3D world. Created for traditional animation in the 1930s, these principles translate perfectly to digital work:
Squash and Stretch: Objects compress and expand during movement, showing weight and flexibility. Even subtle use of this principle makes animation feel more alive.
Anticipation: Movements are preceded by a setup action in the opposite direction. Think of a baseball pitcher winding back before throwing.
Staging: Present ideas clearly through composition and timing. This principle borrows from theater—make sure the audience sees what matters.
Straight-Ahead and Pose-to-Pose: Two animation approaches that can be combined. Straight-ahead creates spontaneous, flowing action by working frame-by-frame, while pose-to-pose plans key positions first.
Follow-Through and Overlapping Action: Parts of an object continue moving after the main action stops, and different parts move at different rates. Hair, clothing, and loose items demonstrate this beautifully.
Slow-In and Slow-Out: Also called “easing,” this principle makes movement more natural by slowing down at the beginning and end of actions.
Arcs: Natural movement follows curved paths, not straight lines. Even robots move in slight arcs.
Secondary Action: Supporting movements that emphasize the main action add richness and complexity.
Timing: The speed of actions conveys weight, personality, and emotion.
Exaggeration: Emphasizing actions makes them more readable and appealing without becoming unrealistic.
Solid Drawing: Understanding form in 3D space remains crucial, even when using digital tools.
Appeal: Characters should be interesting to watch, regardless of their role.
As an Apex Aline 3D Animator Services provider or independent creator, mastering these principles separates professional-looking animation from amateur efforts. The good news is that budget software can implement all these principles just as well as expensive packages.
Beyond these classic principles, 3D animation has developed its special considerations:
Weight and Physics: 3D animation can easily look floaty and weightless. Paying attention to mass, gravity, and realistic movement goes a long way.
Eye and Camera Movement: In 3D, you control not just what moves but how viewers see it. Thoughtful camera work guides attention and creates emotion without additional cost.
Avoiding the Uncanny Valley: As models approach realism but aren’t quite there, they can become disturbing. Sometimes stylization works better on a budget than attempted photorealism.
Cycles and Reuse: Smart reuse of animations saves time without appearing cheap. Creating modular movements that can be combined in different ways maximizes your efficiency.
For indie creators in India and globally, these principles provide a roadmap for creating engaging animation regardless of technical constraints.
The days of needing expensive specialized training to enter 3D animation are over. A wealth of affordable and even free resources exists for determined self-learners.
Blender: The king of free 3D software, Blender handles modeling, animation, rendering, compositing, and even video editing. Many 3D Animation Creators in India now use Blender exclusively.
Unreal Engine: While primarily for games, Unreal’s free-to-start model now supports high-quality animation projects.
DaVinci Resolve: The free version offers powerful compositing and color grading tools.
- YouTube: Contains comprehensive tutorials on every aspect of 3D animation. Channels like Blender Guru, CG Cookie, and Polygon Runway offer structured learning paths.
- Udemy: Regular sales drop courses to ₹455-₹1,300, with comprehensive courses by Grant Abbitt, GameDev.tv, and others.
- Skillshare: Monthly subscription grants access to thousands of courses, often with a free trial period.
- Pluralsight: More professional-focused, offering structured learning paths with a free trial period.
Blender’s Official Documentation: Surprisingly comprehensive and constantly updated.
Pixar in a Box: Khan Academy hosts this free series explaining animation concepts from Pixar artists.
Animation Mentor’s Free Resources: While their full program is expensive, they offer valuable free webinars and articles.
Gnomon Workshop Free Tutorials: Occasional releases professional-level tutorials at no cost.
Local Animation Communities: Many cities in India, including Indore, have animation meetups where knowledge is shared freely.
- Discord Communities: Many animation software packages have active Discord servers where professionals offer guidance.
- Regional Animation Groups: 3D Animation Services in Indore and other Indian cities often maintain Facebook groups for networking and advice.
- Critique Exchanges: Websites like r/blender allow you to post work for feedback from others.
Mixamo: Adobe’s free service for character rigging and animation.
Quixel Megascans: Free with Unreal Engine, offering realistic environment textures.
BlenderKit: Free and paid 3D assets seamlessly integrated into Blender.
Free Sound FX Libraries: Sites like Freesound.org provide audio elements for your animations.
The strategy for budget-conscious learning is to focus on one core software (Blender is ideal), master its fundamentals, and then expand your knowledge methodically. Rather than hopping between trendy tutorials, following structured learning paths yields better results.
For those working with or aspiring to work with Apex Aline 3D Animator Services or similar studios, these resources provide the foundation needed to enter the industry or improve your independent work without financial strain.
Remember that consistency trumps expensive resources. A daily 30-minute practice session using free tools will advance your skills further than occasional weekends with premium software. The most valuable investment isn’t money—it’s your time and dedication.
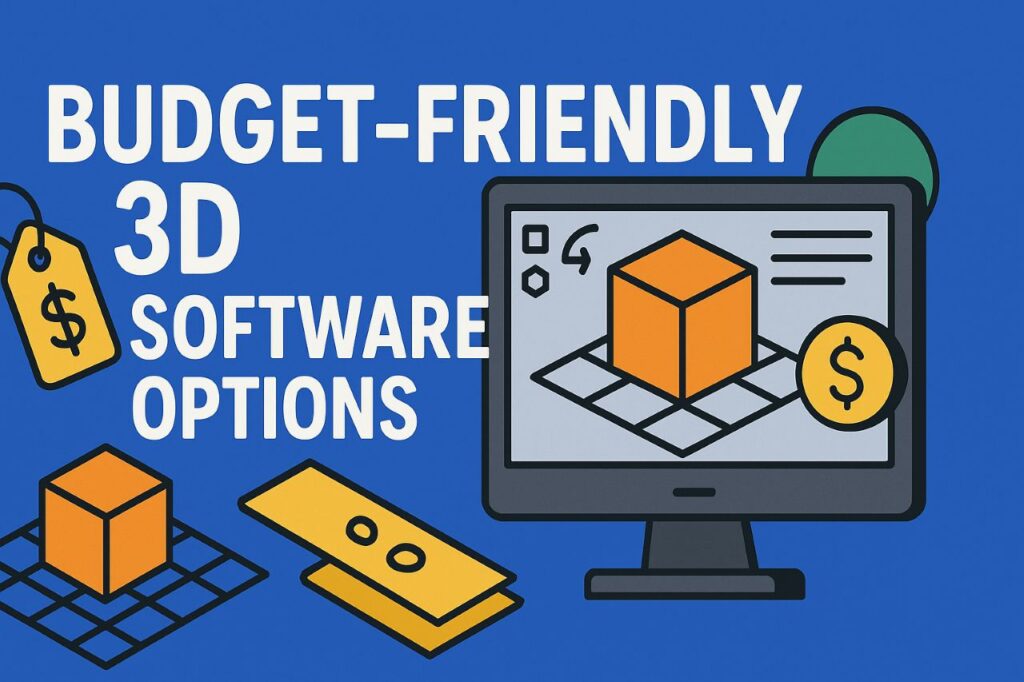
Professional Tools Without the Professional Price Tag
When starting in 3D animation, your software choice can make or break both your budget and creative potential. Fortunately, these powerful yet affordable options deliver professional results:
Free Powerhouses
Blender – The undisputed champion of free 3D software, offering complete pipeline tools from modeling to final render
Wings 3D – Lightweight alternative for polygonal modeling (ideal for beginners)
Armory3D – Free Blender-integrated game engine with animation tools
Low-Cost Premium Options
Cinema 4D Lite – Free with Adobe After Effects (full version starts at $16.99/month)
Moho Debut – $59.99 for entry-level 2D/3D animation
Krita – Free digital painting tool with basic 3D texture capabilities
Specialized Free Tools
MakeHuman – Generate fully rigged 3D human models instantly
Marvelous Designer – Free trial available for clothing simulation
Substance Painter – Free for students (30-day trial otherwise)
Pro Tip: Many studios offering 3D animation services in Indore actually use these same budget tools for certain production stages, proving you don’t need expensive software to create professional work.